Toolbox
Our research uses big data, computational techniques and macroecological techniques, but also generates new data through field work and documents relevant observations of natural history. As such, good data and code practices that enable collaboration and reproducibility are a strong priority.
Since many of these practices involve very steep learning curves, it will take sustained practice to get familiar with them and develop expertise. However, the payoff for these practices compounds over time, much like a return on investment, and will become invaluable assets in your research toolkit. It is important to not feel discouraged if you feel lost in the early days!
This page therefore serves as a guide to frequently return to, whether it is to set up your software from scratch, or to clarify some critical point you have forgotten, or even to try and troubleshoot issues with your own computation or setup.
As of 2025, lab members primarily use the R programming language for most steps of the data analysis pipeline, only using spreadsheets to enter and clean up data. GIS tasks are performed in either ArcGIS (proprietary) or QGIS (FOSS1). Manuscript writing is usually done in conventional word processing software like MS Word (or FOSS alternatives like LibreOffice Writer) or GDocs, although Quarto/R Markdown is a promising alternative with several benefits2. Other software used less frequently include Raven Pro and Praat for audio analysis, BORIS for behaviour data, MARK, Distance and BEAST.
1 Free and open source software, which we will reference often on this page. See this Wikipedia article for more details
2 Both personal and outward benefits. Some of these are: painless formatting and typesetting, efficient version control, and direct linking between data and output.
Most of these tools, especially those living in the FOSS universe, have tons of resources available online, including instructive videos on YouTube. These are incredibly useful to get a better sense of what each of these does and how to use them. You will find links to a few such resources in the respective sections.
Setting up software essentials
To get set up with your computing environment, your computer needs some software essentials. Download and install the latest versions (for your respective OS) of:
R and RStudio
RStudio and project-oriented workflows
Typically, you end up working on multiple “things” over the course of a day, week or month. These can be individual research projects, coursework and assignments, and more. Each of these also likely involves working with multiple files, which usually means using file paths to reference them. Absolute file paths3 are the biggest enemy of shareability of your code, and more broadly its reproducibility. Not having all the files required for your project organized in a single directory is a close second.
3 Another phrase you will find repeatedly here. See this brief exposition of absolute vs relative file paths.
In a research lab setting, where analyses often span months or years and involve multiple contributors, project-oriented workflows ensure that data, code, outputs, and documentation remain organized and interconnected. Such a workflow, centered around a self-contained project folder with consistent structure, promotes reproducibility, collaboration, and long-term clarity.
It’s like agreeing that we will all drive on the left or the right. A hallmark of civilization is following conventions that constrain your behavior a little, in the name of public safety.
Luckily for R users, RStudio offers several useful features that let you use relative file paths, manage dependencies and isolate environments—reducing the risk of your code breaking when files are moved or shared, and making it easy for collaborators or future lab members to pick up and understand past work. RStudio fully supports project-based workflows; in fact, this work style is so important that RStudio has an official concept of R Projects. R Projects make it easy to switch from one project4 to another, have many projects open at once, re-launch recently used ones, etc., and also enables you to start thinking about projects as modular and self-contained. It is strongly recommended to use R Projects in your daily workflow!
4 Note that this lowercase “project” is more conceptual, referring to individual pieces of work, which can range from research projects and websites to software packages and slide decks. The key is to define your projects such that they are self-contained.
If you have been using commands such as setwd("C:\Users\karthik\path\that\only\I\have") and rm(list = ls()), shifting to a project-oriented workflow as recommended above will mean forsaking these commands (which is a good thing). In addition, there are some other strong recommendations for working in RStudio, such as disabling the Restore .RData into workspace at startup option and changing the Save workspace to .RData on exit: option to “Never”. This ensures that each new R session starts with a blank slate, helping you catch errors more easily and enabling better reproducibility.
For another insightful read going into detail about the philosophy of project-oriented workflows (with intriguing questions such as “what is the source of truth” and “where does your analysis live”), please read this chapter from R for Data Science by Hadley Wickham, Mine Çetinkaya-Rundel, and Garrett Grolemund 5. This Data Carpentry unit on project management with RStudio is also instructive and useful.
5 A freely available textbook, and the Sacred Text for R programmers.
There are further approaches you can adopt to make your project more structurally robust and self-contained, such as using here::here() when defining file paths, and using renv to contain your entire project environment (and shield it from external vagaries!).
Other resources for R
Hadley’s textbook mentioned above is, in many cases, the only resource you need given how comprehensive and user-friendly it is. However, for specific issues, questions or troubleshooting problems, it is worth searching on StackExchange6 portals like StackOverflow (coding-related) and CrossValidated (statistics-related). Additionally, you can also find nice specific tutorials on YouTube.
6 StackExchange is a network of individual websites. Read more here.
Another strong recommendation for R programmers is tidyverse, which is a collection of opinionated R packages for working with data. “Opinionated” here means that all the member packages share an underlying design philosophy, grammar, and data structures—which ultimately make coding in R not only more intuitive, clean and stress-free, but also more enjoyable!
Git and GitHub
Git is an open-source version control system (VCS) that lives locally on certain directories in your system (which you specify). Think of it as an all-seeing eye that monitors changes in files. Because files in a project evolve in unbelievably complex ways, and often have multiple people making changes to them, Git becomes incredibly useful in managing the project itself.
On the other hand, GitHub is a cloud-based developer platform that allows distributed version control. It essentially takes your locally living Git information and hosts it online, thereby allowing you to more efficiently and easily manage, track, collaborate and share your work. Although alternative platforms exist like GitLab and BitBucket, GitHub is the most popular and our lab too uses it for developing code, collaborating, and much else.
Another great thing about open-source code sharing via GitHub is the immense learning potential! Whenever you come across some very cool analysis or function or package, you can explore its source code to better understand how it works and/or learn how to emulate it in your own work. For example, here are all 20-ish lines of code that make up the familiar dplyr::n_distinct() function from the tidyverse. Developing the habit of examining source code can help you learn a lot!
Some more resources to delve deeper into the world of Git and GitHub:
- Git lets you time travel
- How to set up Git on your system
- The Git-GitHub relationship
- What can you do with your GitHub account?
Remember, there is a substantial learning curve to integrating Git and GitHub into your workflow, so don’t feel like you have to be an expert on day 1 (or even by the end of year 1)! The process can be very frustrating at times, but sticking with it is key!
Making an account on GitHub
Get set up with GitHub:
- Create a GitHub account using the instructions here, if you don’t have one already.
- Share your GitHub username with Flavia, so she can add you to the lab’s GitHub page which houses repositories of our research projects as well as other useful resources.
Connecting your system to your GitHub account
Because Git lives locally and GitHub is cloud-based (also called “remote” in Git lingo), you will need to authenticate the connection between the two. There are two methods of authentication, HTTPS and SSH. HTTPS is the recommended option and also allows the use of credential helpers so you do not need to authenticate every time you make a change.7
7 Read more about remote repositories and HTTPS vs SSH here.
There are two general methods to cache your GitHub credentials in Git: either using the command line interface or a special credential manager software (more info here). However, for those of us who use R, there is an even easier method! Brief instructtions are provided below (detailed instructions can be found here). The corresponding code is also given below and can be copied into your R session.
- Install the R package
usethis(which automatically also installs the dependencygitcreds) - Get a personal access token (PAT): if you are signed in to GitHub,
create_github_token()will take you to a pre-filled form to generate a PAT. It is recommended to give descriptive names for each token in the “Note” field, such as the computer or project it is for (e.g., “karthik-laptop” or “karthik-montano-lab-server”). Once generated, make sure to copy it to clipboard before closing the page. You can paste it in a temporary file if you cannot immediately proceed to the next step. - Cache your PAT locally: when you run
gitcreds_set()you will be prompted to enter your PAT, so just paste the copied token.
# install packages
install.packages("usethis")

# get PAT
usethis::create_github_token()

# cache PAT
gitcreds::gitcreds_set()
Cloning a repository (in RStudio)
One of the biggest advantages to using Git and GitHub is how easy it becomes to share and collaborate on projects. The fundamental step to get familiarised with here is cloning a GitHub repository.
By now, you have a basic idea about project-oriented workflows (Section 2.1) and Git repositories (Section 3). Cloning a GitHub repository is essentially creating a local copy of the project using the latest version available on the “remote”. You will recall the two methods of authenticating the Git-GitHub connection (Section 3.2); depending on which one you chose for your GitHub account authentication, select the appropriate URL to clone the repo.
- Go to the repository you want to clone, e.g., https://github.com/montanolab/toolbox
- Click on the green button saying
<> Code - Select between HTTPS and SSH options (depending on how you have authenticated your GitHub account) and copy the URL to clipboard
- Open RStudio
- File (in top-left) or R Project icon (in top-right) –> New Project –> Version Control –> Git
- In the “Repository URL” field, paste the copied URL. “Project directory name” will autofill with the repo name8. For “Create project as subdirectory of”, browse and select the higher-order folder under which you want this new folder to be created.
- Click on “Create Project”
8 It is recommended to not change this, so that it’s easier to associate the local repo with the remote.
This method is also recommended when starting a new project repo from scratch. That is, first create a new repo on GitHub, then clone it locally which also creates a new R Project in the process.
Commits, pushes and pulls
Once you have the necessary software and credentials set up, actually implementing Git in your workflow involves these three fundamental actions: committing, pushing and pulling.
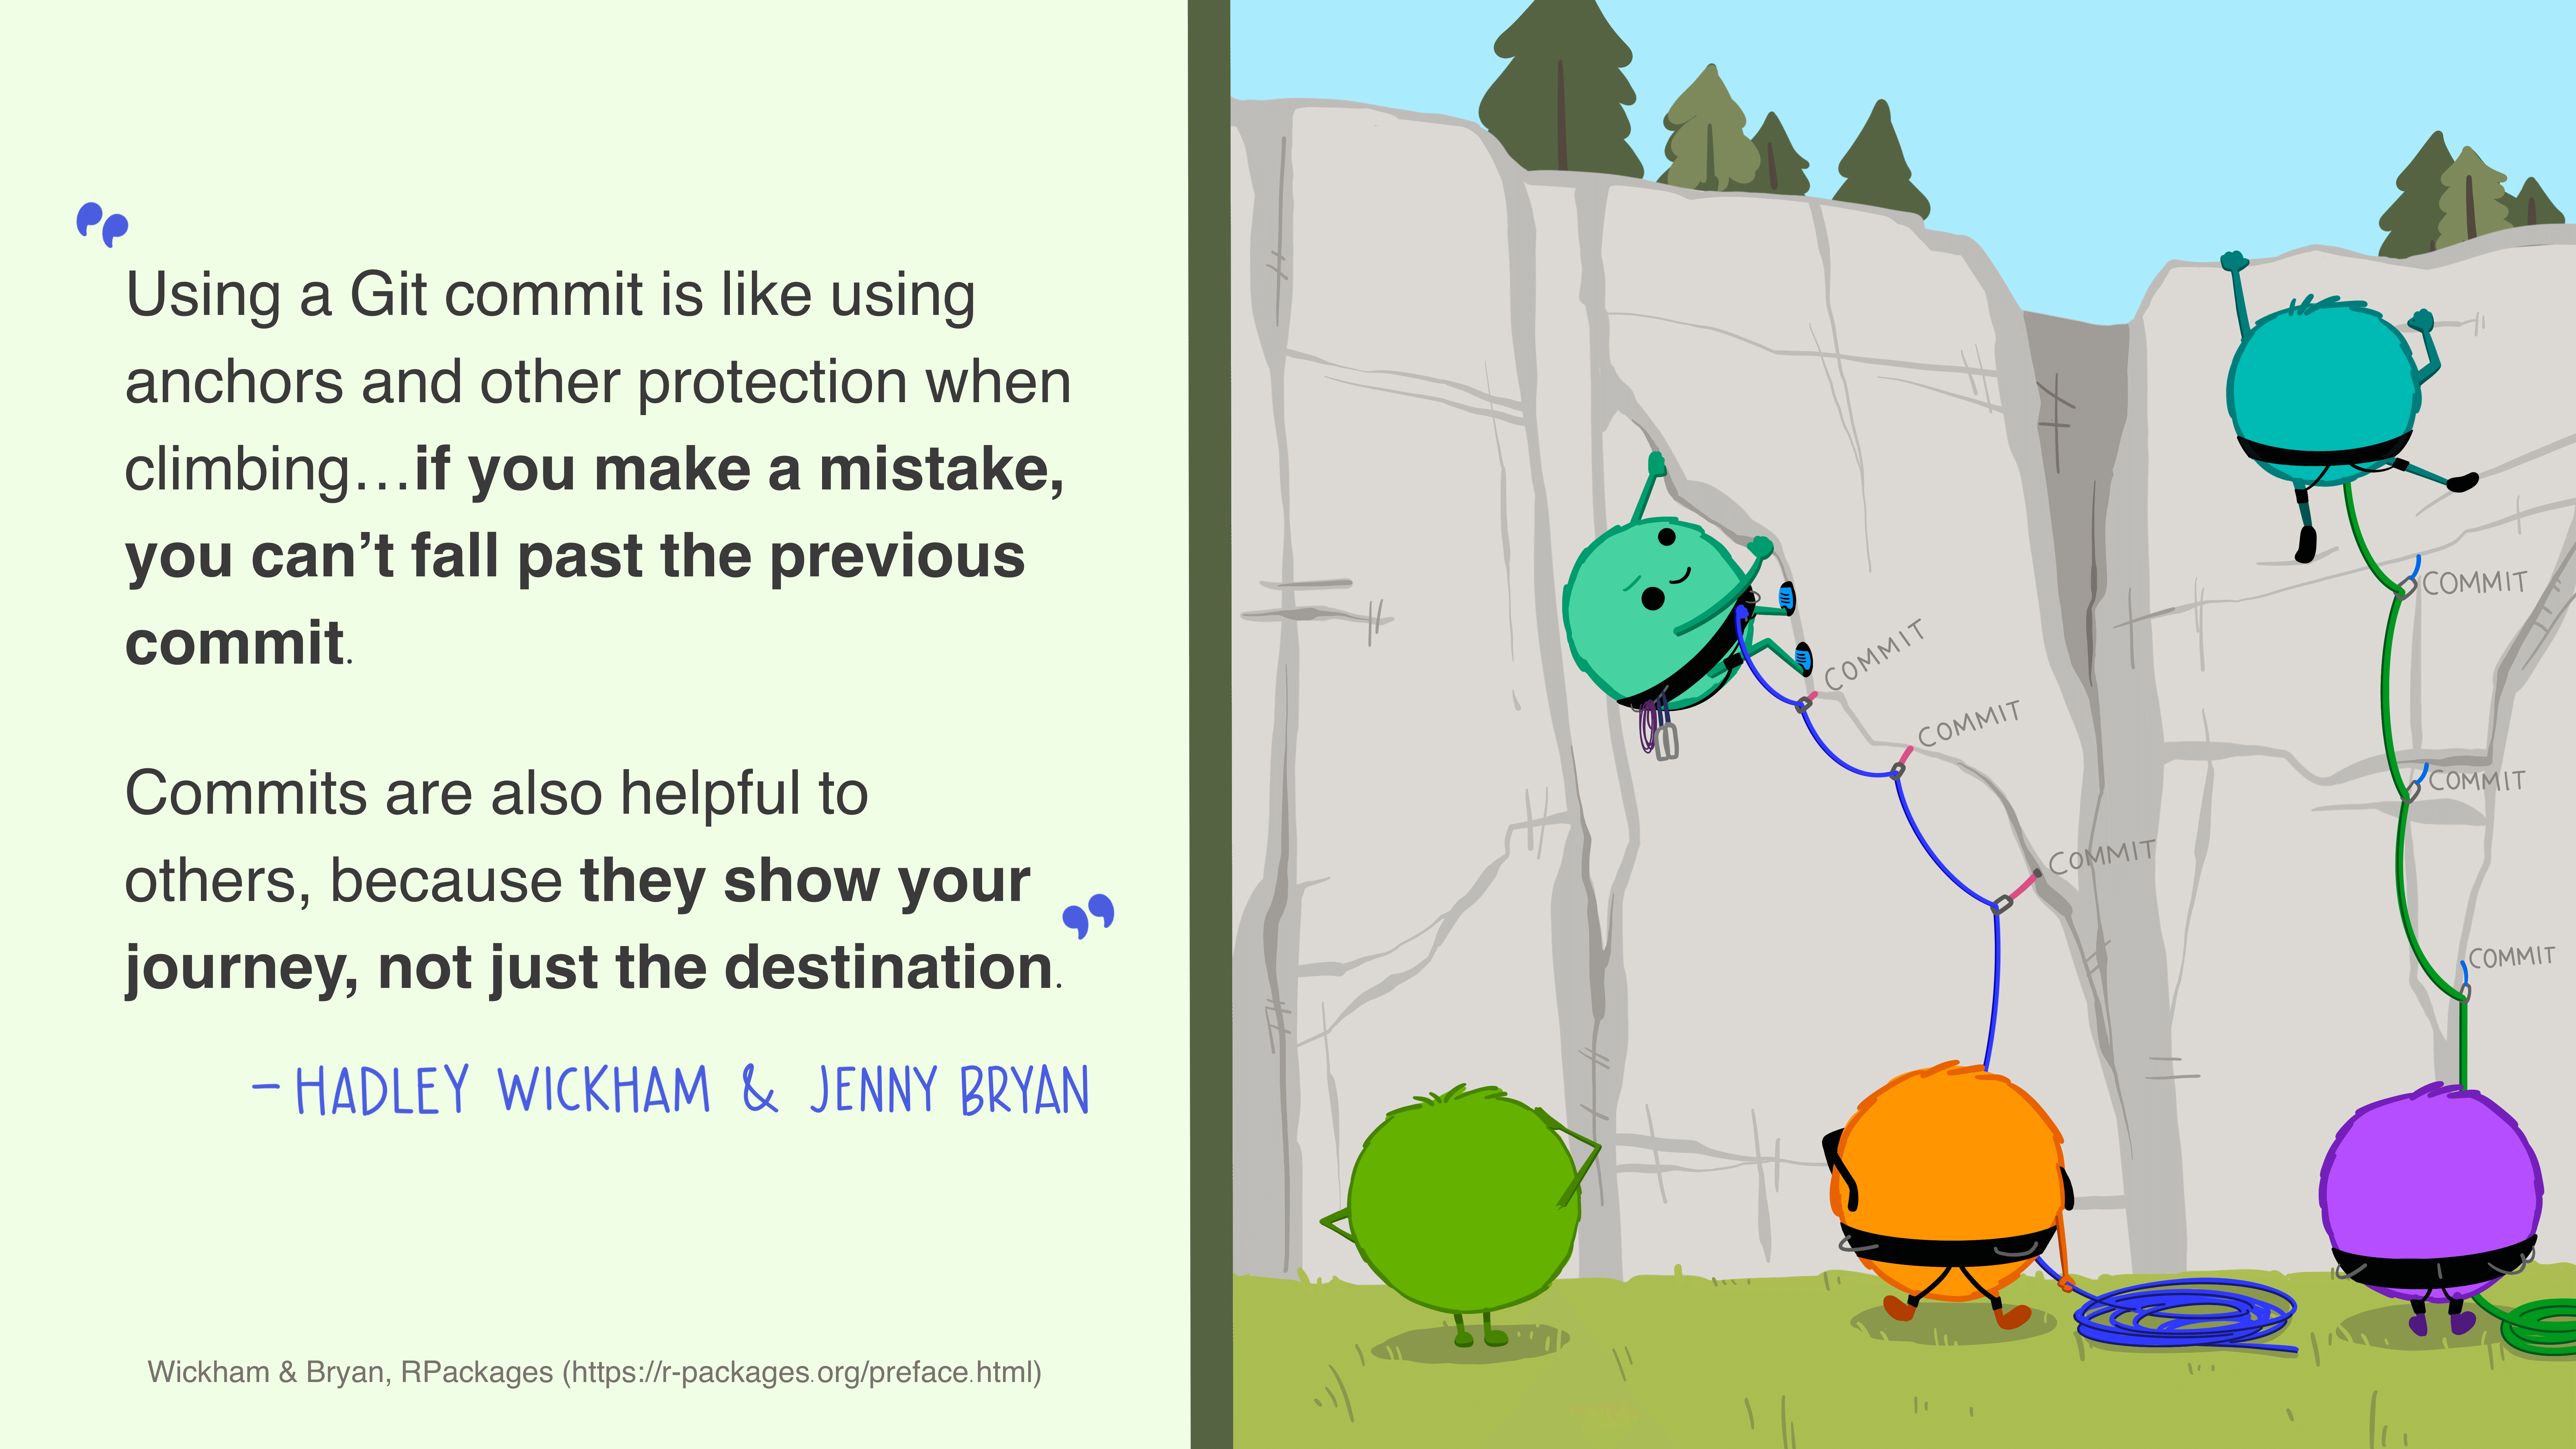
A commit is best thought of as a higher-order method of saving a file. Similar to saving a file that’s been edited, a commit records changes to one or more files (which may or may not be text-based) in your directory. You can save small sets of meaningful changes to your files as commits, and also give each commit a meaningful and descriptive message describing the change(s).
Commits are a series of check-ins with your local all-seeing eye. Eventually, say at the end of one continuous work session, you will want to update your GitHub repo (i.e., the remote) with all these changes. For this, you need to “push” the commits up to the remote. On the other hand, if there are updates on the remote (e.g., your collaborator has added an analysis), you will want to retrieve those locally, for which you need to “pull” changes from the remote. It is good practice to always pull before starting a new work session, to ensure you are working on the latest version and to prevent “conflicts” later.
Once again, repeated practice is required to get comfortable with this workflow. Read more about commits here.
Bibliography management
Bibliography management software is essential in research, for organizing references, inserting citations, and collaborating on literature reviews or manuscripts. Manually typing out individual references in your bibliography, and rewriting them when your text is reordered or your target journal (and its formatting requirement) changes, are all things of the past. Tools like Zotero, Mendeley, and EndNote all allow users to collect, store, and format references in a variety of citation styles. Most journals’ citation formatting requirements can be found in citation style repositories, which are collections of individual Citation Style Language (.csl) files.
EndNote is commonly used in institutional settings for its integration with library databases and advanced features, but is not free to use. Mendeley is known for its PDF annotation tools and cloud storage, though its development has slowed since being acquired by Elsevier.
Zotero, however, stands out with its free and open source nature, as well as its strong browser integration and ease of use. It supports seamless citation and bibliography insertion in Word, LibreOffice, Google Docs, and even Quarto/R Markdown, and can automatically generate shared group libraries (ideal for research labs). Zotero also respects user privacy, and works well across platforms. Many also use it for all their literature reading, owing to its clean and efficient PDF reading experience. For most academic users—especially in collaborative environments where open science is a value—Zotero offers the best combination of flexibility, transparency, and community support.
Read more on why, and why not, Zotero. Also check out Stephen Chignell’s blog post on switching to Zotero and creating a complete reference manager setup.
Link to a tutorial on how to set up Zotero for a seamless and complete literature workflow coming soon…
Project archival
Digital archival repositories like Zenodo, Dryad and Figshare play a vital role in open science by providing long-term, citable storage for datasets, code, and other research outputs. These platforms assign DOIs (Digital Object Identifiers), making materials easy to cite and discover, and are now standard components of data-sharing requirements for academic journals and funders.
While all three are reputable, they differ slightly in focus. Dryad is geared specifically toward publishing datasets associated with scientific articles, particularly in ecology and biology, with an emphasis on metadata quality. Figshare offers broad support for diverse research outputs, including posters, figures, and negative results, and is often integrated with institutional repositories. Zenodo, developed by CERN and supported by the EU, is notable for its flexibility: it accepts code, data, and even full publications, integrates directly with GitHub (enabling strong version control), and is fully open access. It does not charge for uploads, and promotes transparency while enabling proper citation of even small or non-traditional outputs.
For ecology and evolutionary biology labs, Zenodo’s flexibility thus makes it an excellent choice—especially when paired with GitHub (and other project-oriented workflows detailed above) for seamless project archival. Montaño Lab uses Zenodo to archive all outputs from the lab, such as data and code associated with research projects, as well as non-research outputs such as educational material and resources.
Extended (optional) reading in the space of sharing and archival:
- FAIR principles for data management and stewardship (Findability, Accessibility, Interoperability, Reuse)
- Ecological Metadata Language (EML) for documenting research data
- Darwin Core Standard (DwC) framework for biodiversity data
- Licensing your software or other creative work
Additional information such as best practices for data archival, metadata writing, etc. coming soon…
Further reading
For broader reading about openness, reproducibility and transparency in science:
- Primer articles linked in the course material for Gaurav Kandlikar’s “Reproducible research in ecology and evolution” (BIOL 4800/7800 at LSU)
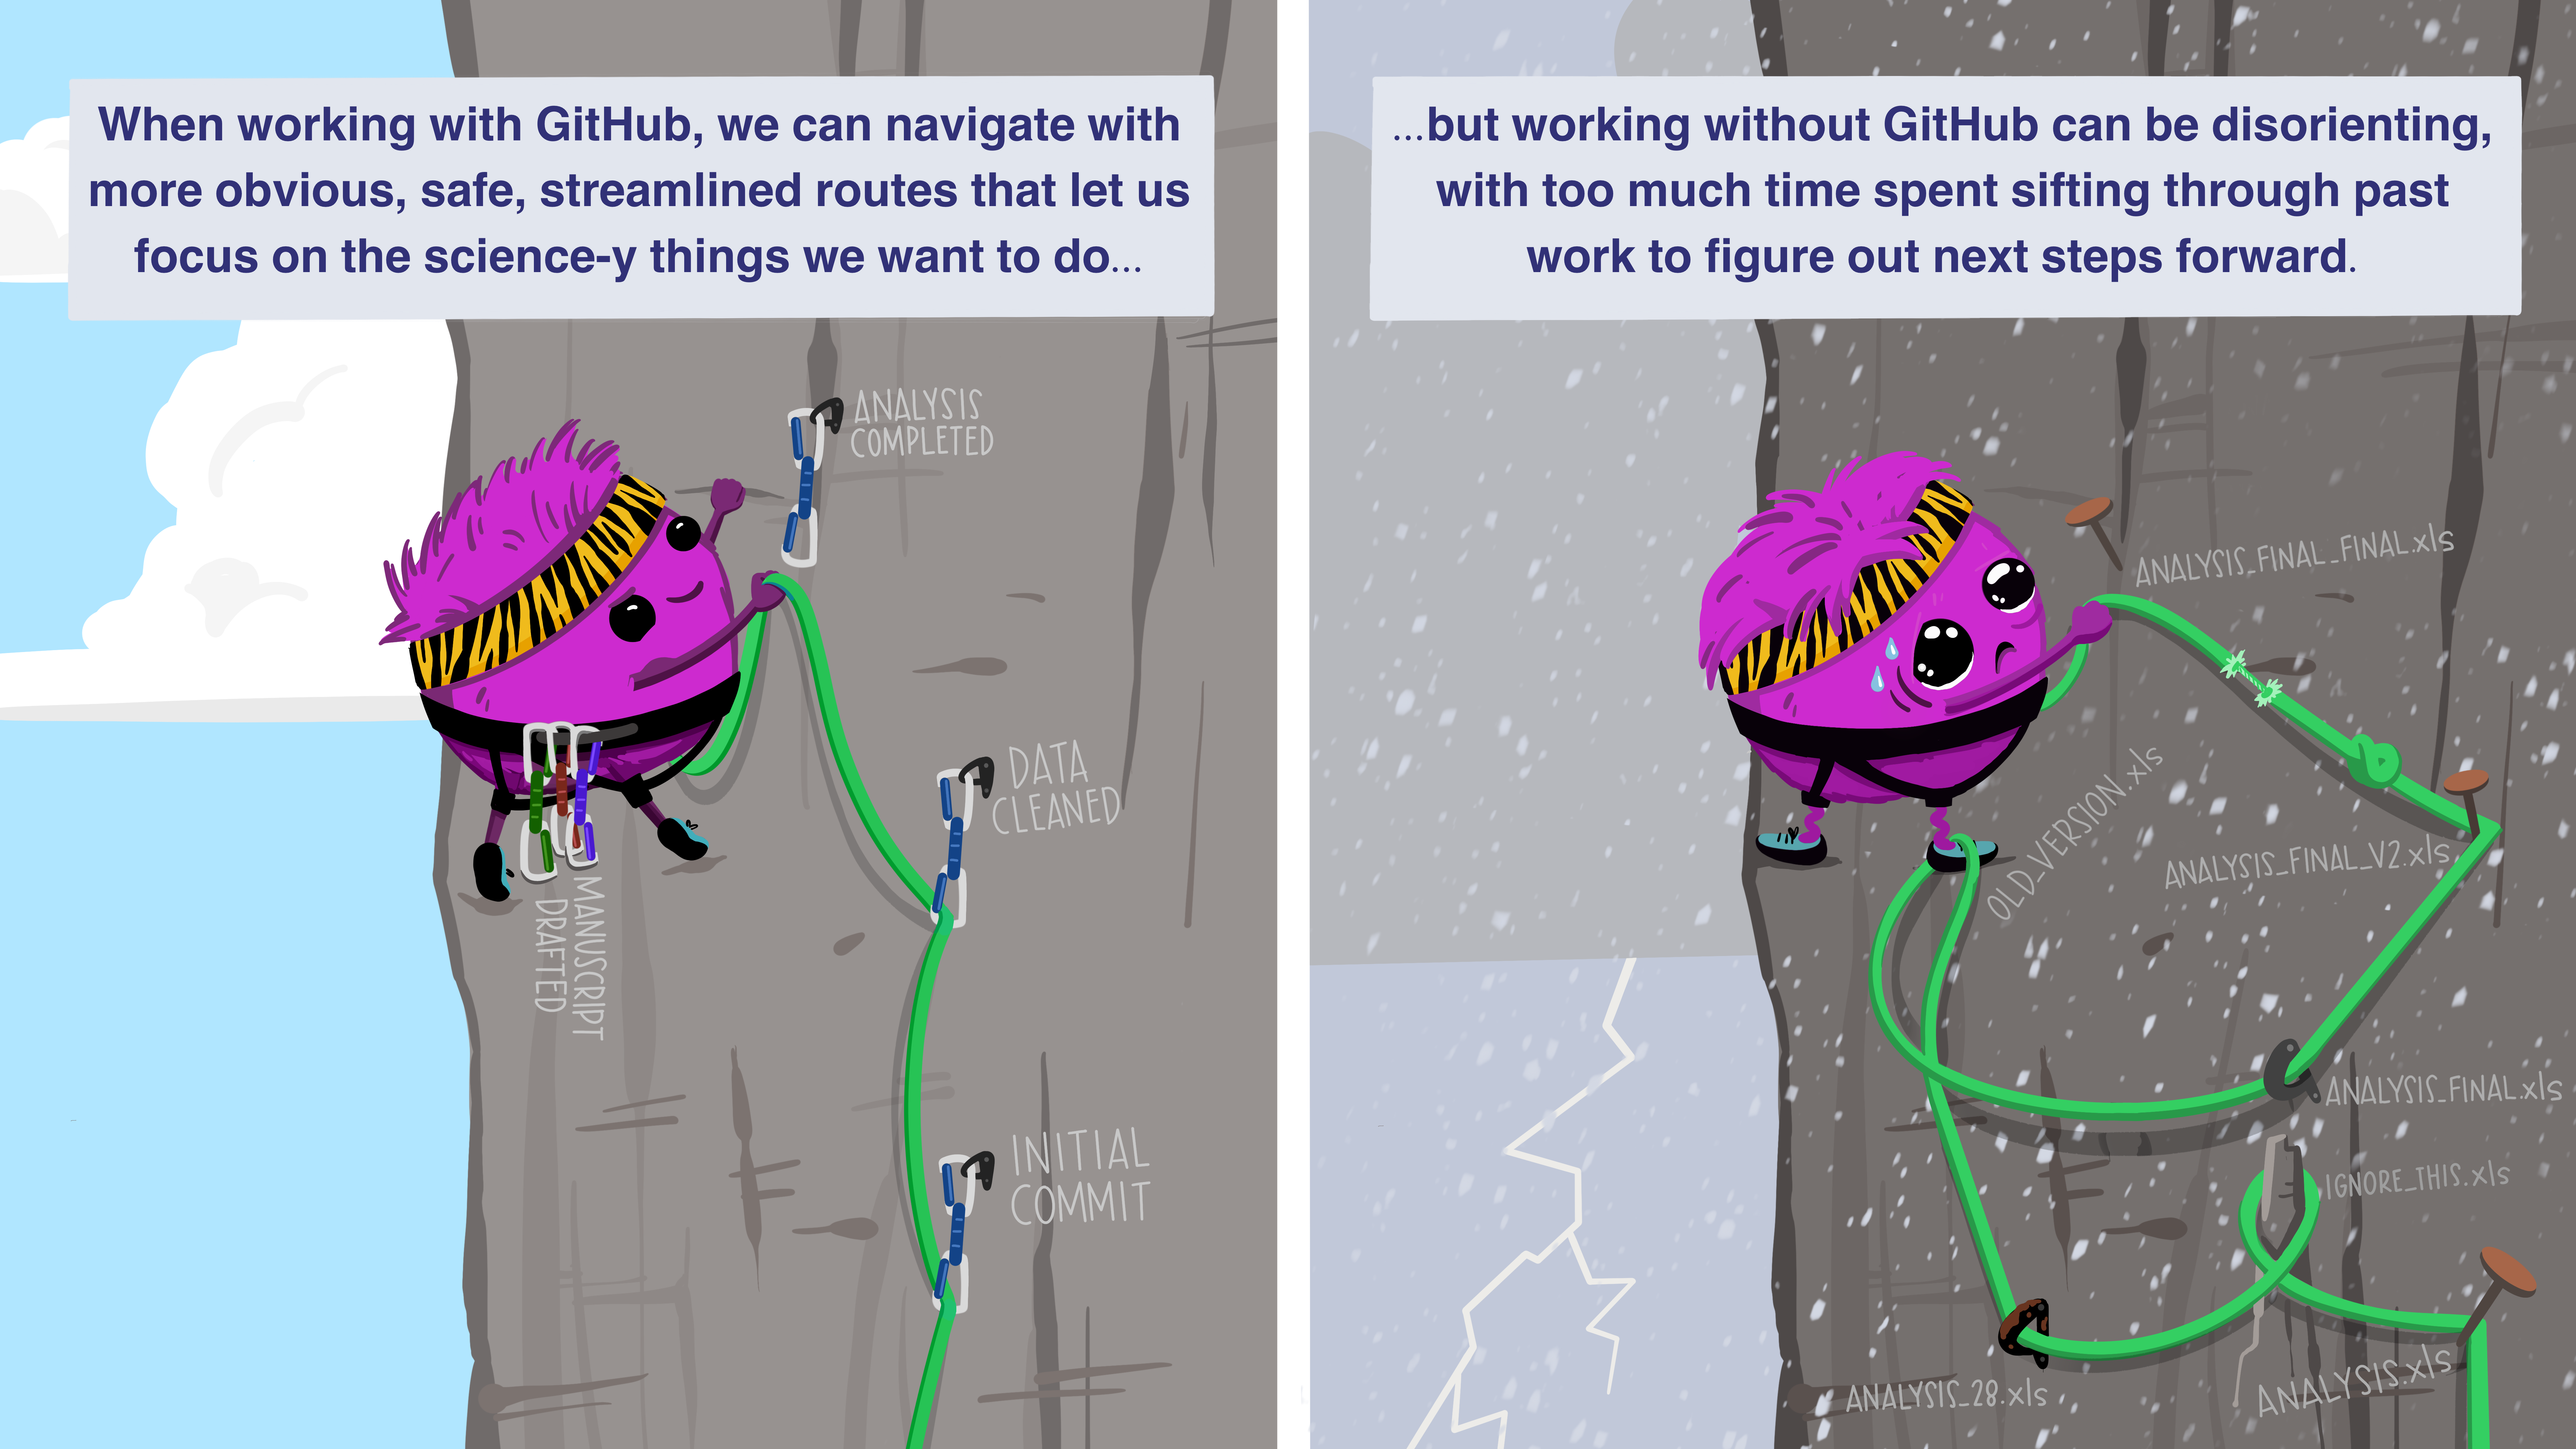
- Article by Allison Horst and Julie Lowndes: GitHub for supporting, reusing, contributing, and failing safely
- Stunning, intuitive and insightful data science illustrations by Allison Horst
- The Carpentries lesson on writing manuscripts with RStudio and Quarto: Introduction to Reproducible Publications with Quarto